You are thinking about a home elevator but are wondering... what do they have to do to install one and how will it fit into my home?
Many customers and contractors alike have questions about the process of installing a home elevator. I thought it would be a good idea to show you the basics of what you can expect when installing a new home elevator into your house by bringing you along on my latest project from start to finish.
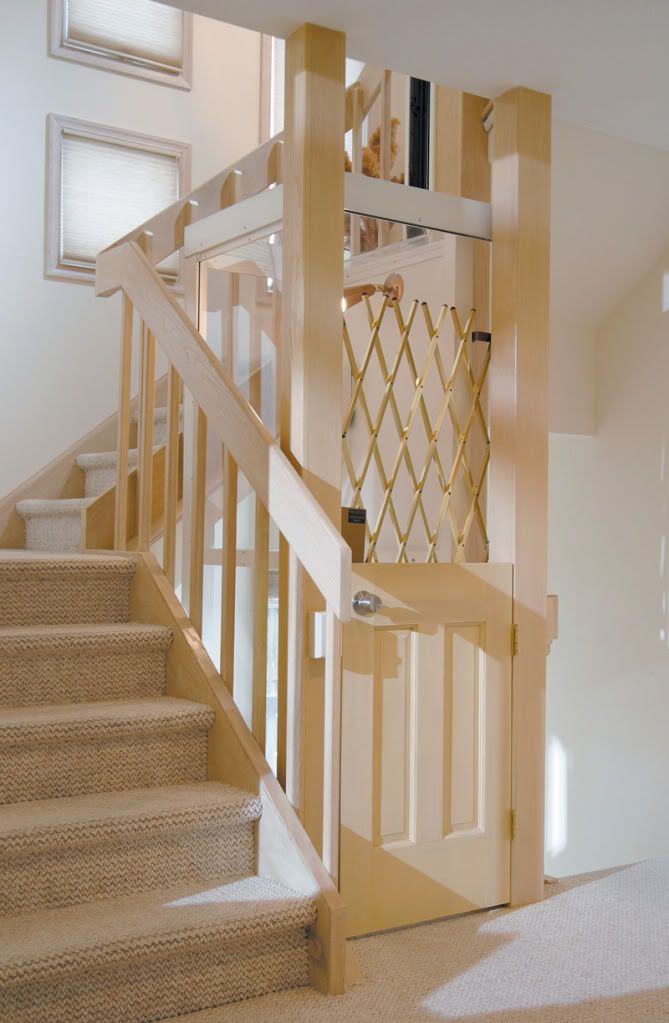
As part of this home renovation I am installing a 4-landing, front-and-rear opening, 750# capacity HydraRide home elevator between the new addition and the existing home. As all elevettes, the unit is completely custom designed to suit the needs of the owners while also beautifully complementing the interior decor of the home.

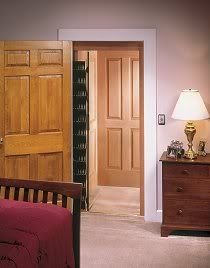
From the outside, you would not suspect this home needs an elevator, but, it is all about the ease of moving from level to level within the home regardless of the height of the building. Since the 2 levels of the existing home are 4' above the 2 levels of the addition, our customer needs to be able to enter on one side of the elevette and exit on the other side.
The First Step
I always begin by meeting with you, the home owner, and then with your contractor, in order to work up the perfect custom design for you in both form and function. Once all of the details have been discussed and your custom design is decided upon, I go to work on the drawings of what will become the perfect elevator for your home.
Beginning Construction
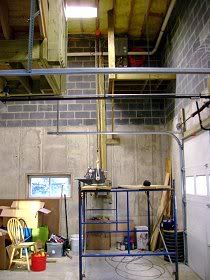
If the job is new construction, I pull all my field wires through the walls and put up plywood panels for mounting the elevette controller and mid-shaft junction box while the walls are still in studs. I also install button boxes at each floor and pull wires to the strike jambs of each doorway. This will give us a neatly finished job with all the wiring hidden. Then, when the equipment is ready at the factory in Harrisburg, I pick it up and deliver it to your jobsite.
Depending on the market conditions, delivery times could run from 4 weeks all the way to 12 weeks. I am able to make simple changes to your order up to 2 weeks before manufacture.

The first step in starting construction on your home elevator is building the elevator shaft. The shaft is built into your home by your contractor according to the packet of drawings I provide to them based on your custom design.

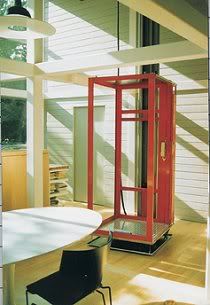
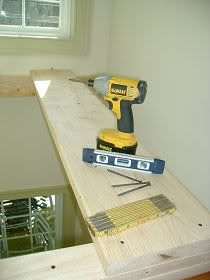
When the hoistway is completed and the equipment is safely stored on the jobsite, I begin the installation with the guide rails. Since this job is a HydraRide, the cylinder base is installed first. Measurements are taken at different parts of the hoistway to determine the exact position of the guide rail and insure proper clearances. The rail stands on top of the cylinder base and is fastened to the 2x12 plank installed by the contractor. Next, the "trolly", with the hoist cables attached, is lowered into the rail. The metal base of the cab is securely bolted to the trolly and the wooden base is installed.


The cylinder is installed on top of it's base, plumbed, and clamped to the wall.
Broken Rope SafetiesI should probably take a moment to answer the age-old question... "What if the cables break?"
First answer: The cables don't break! The cables are enormously strong in comparison to the small loads we will impose on them. The elevator industry uses cables because they can be inspected and signs of wear are visible long before their strength is remotely compromised.
They only break in the movies!
Second: If you notice in the pictures, there are no cables holding up the platform! Your elevette is equipped with Instantaneous "Broken-rope" Safeties that grab the rail if there is no tension on the cables. I use the platform as a working platform, to install all the rest of the equipment, BEFORE the cables are installed.